Task Priorities and Status Workflow
Master the four task priority levels and understand how tasks flow through Open, In Progress, and Done statuses.
The Four Priority Levels
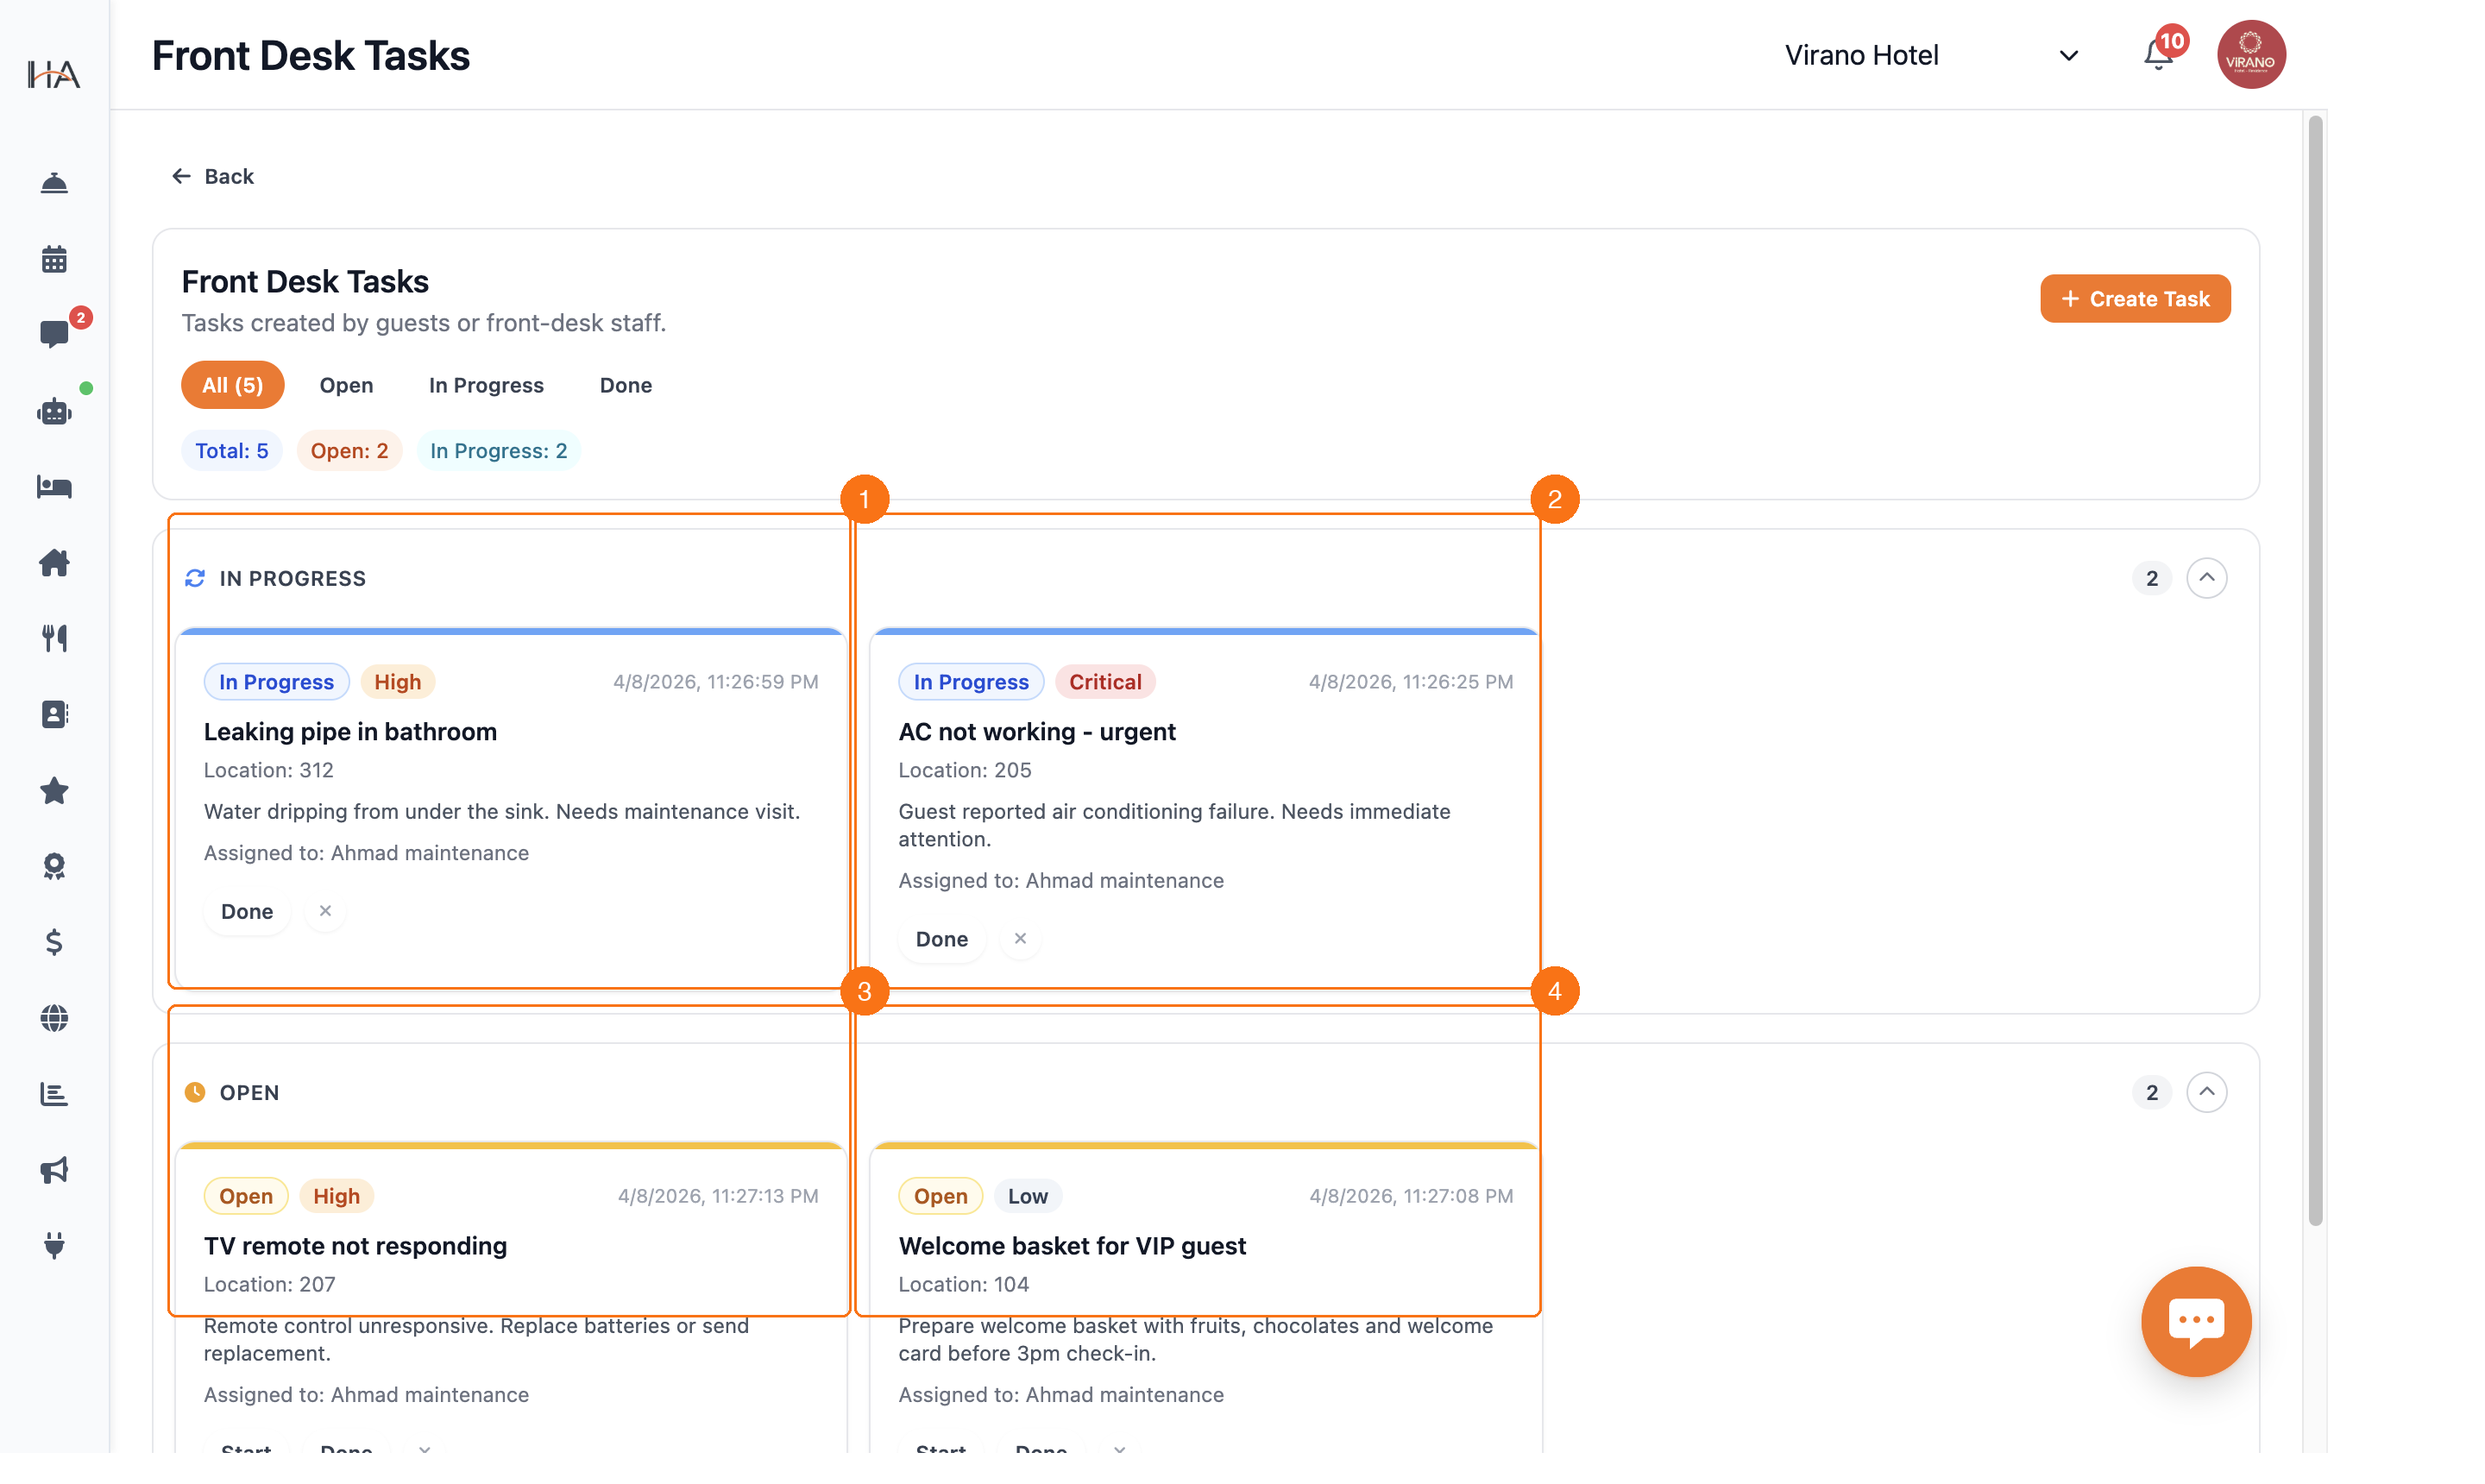
Every Front Desk task is assigned one of four priority levels. Priority determines how urgently a task needs attention and how it's visually displayed: 🔴 CRITICAL - Color: Red badge - Meaning: Requires immediate attention — potential safety issue, major guest inconvenience, or time-sensitive situation - Examples: AC failure in extreme heat, flooding, medical emergency request, gate/door lock malfunction, complaint that could lead to cancellation - Expected response: Within minutes - Who handles: Senior staff or manager on duty 🟠 HIGH - Color: Orange badge - Meaning: Needs prompt attention — guest is affected and waiting for resolution - Examples: Hot water not working, TV completely broken, broken shower, missing mandatory amenity, pre-arrival room not ready - Expected response: Within 30–60 minutes - Who handles: Available maintenance or housekeeping staff 🔵 NORMAL - Color: Indigo/blue badge - Meaning: Standard request — guest has made a routine request that can be handled in normal workflow - Examples: Extra towels, extra pillow, room temperature adjustment, lost key card, early check-in inquiry - Expected response: Within a few hours or next available slot - Who handles: On-duty housekeeping or front desk agent ⚪ LOW - Color: Slate/gray badge - Meaning: Non-urgent — can be deferred without guest impact - Examples: Pre-arrival room setup (welcome amenities), minor cosmetic improvements, administrative follow-ups, event preparation days in advance - Expected response: Before end of shift or next day - Who handles: Housekeeping or assigned team member at their convenience
Task Status Lifecycle
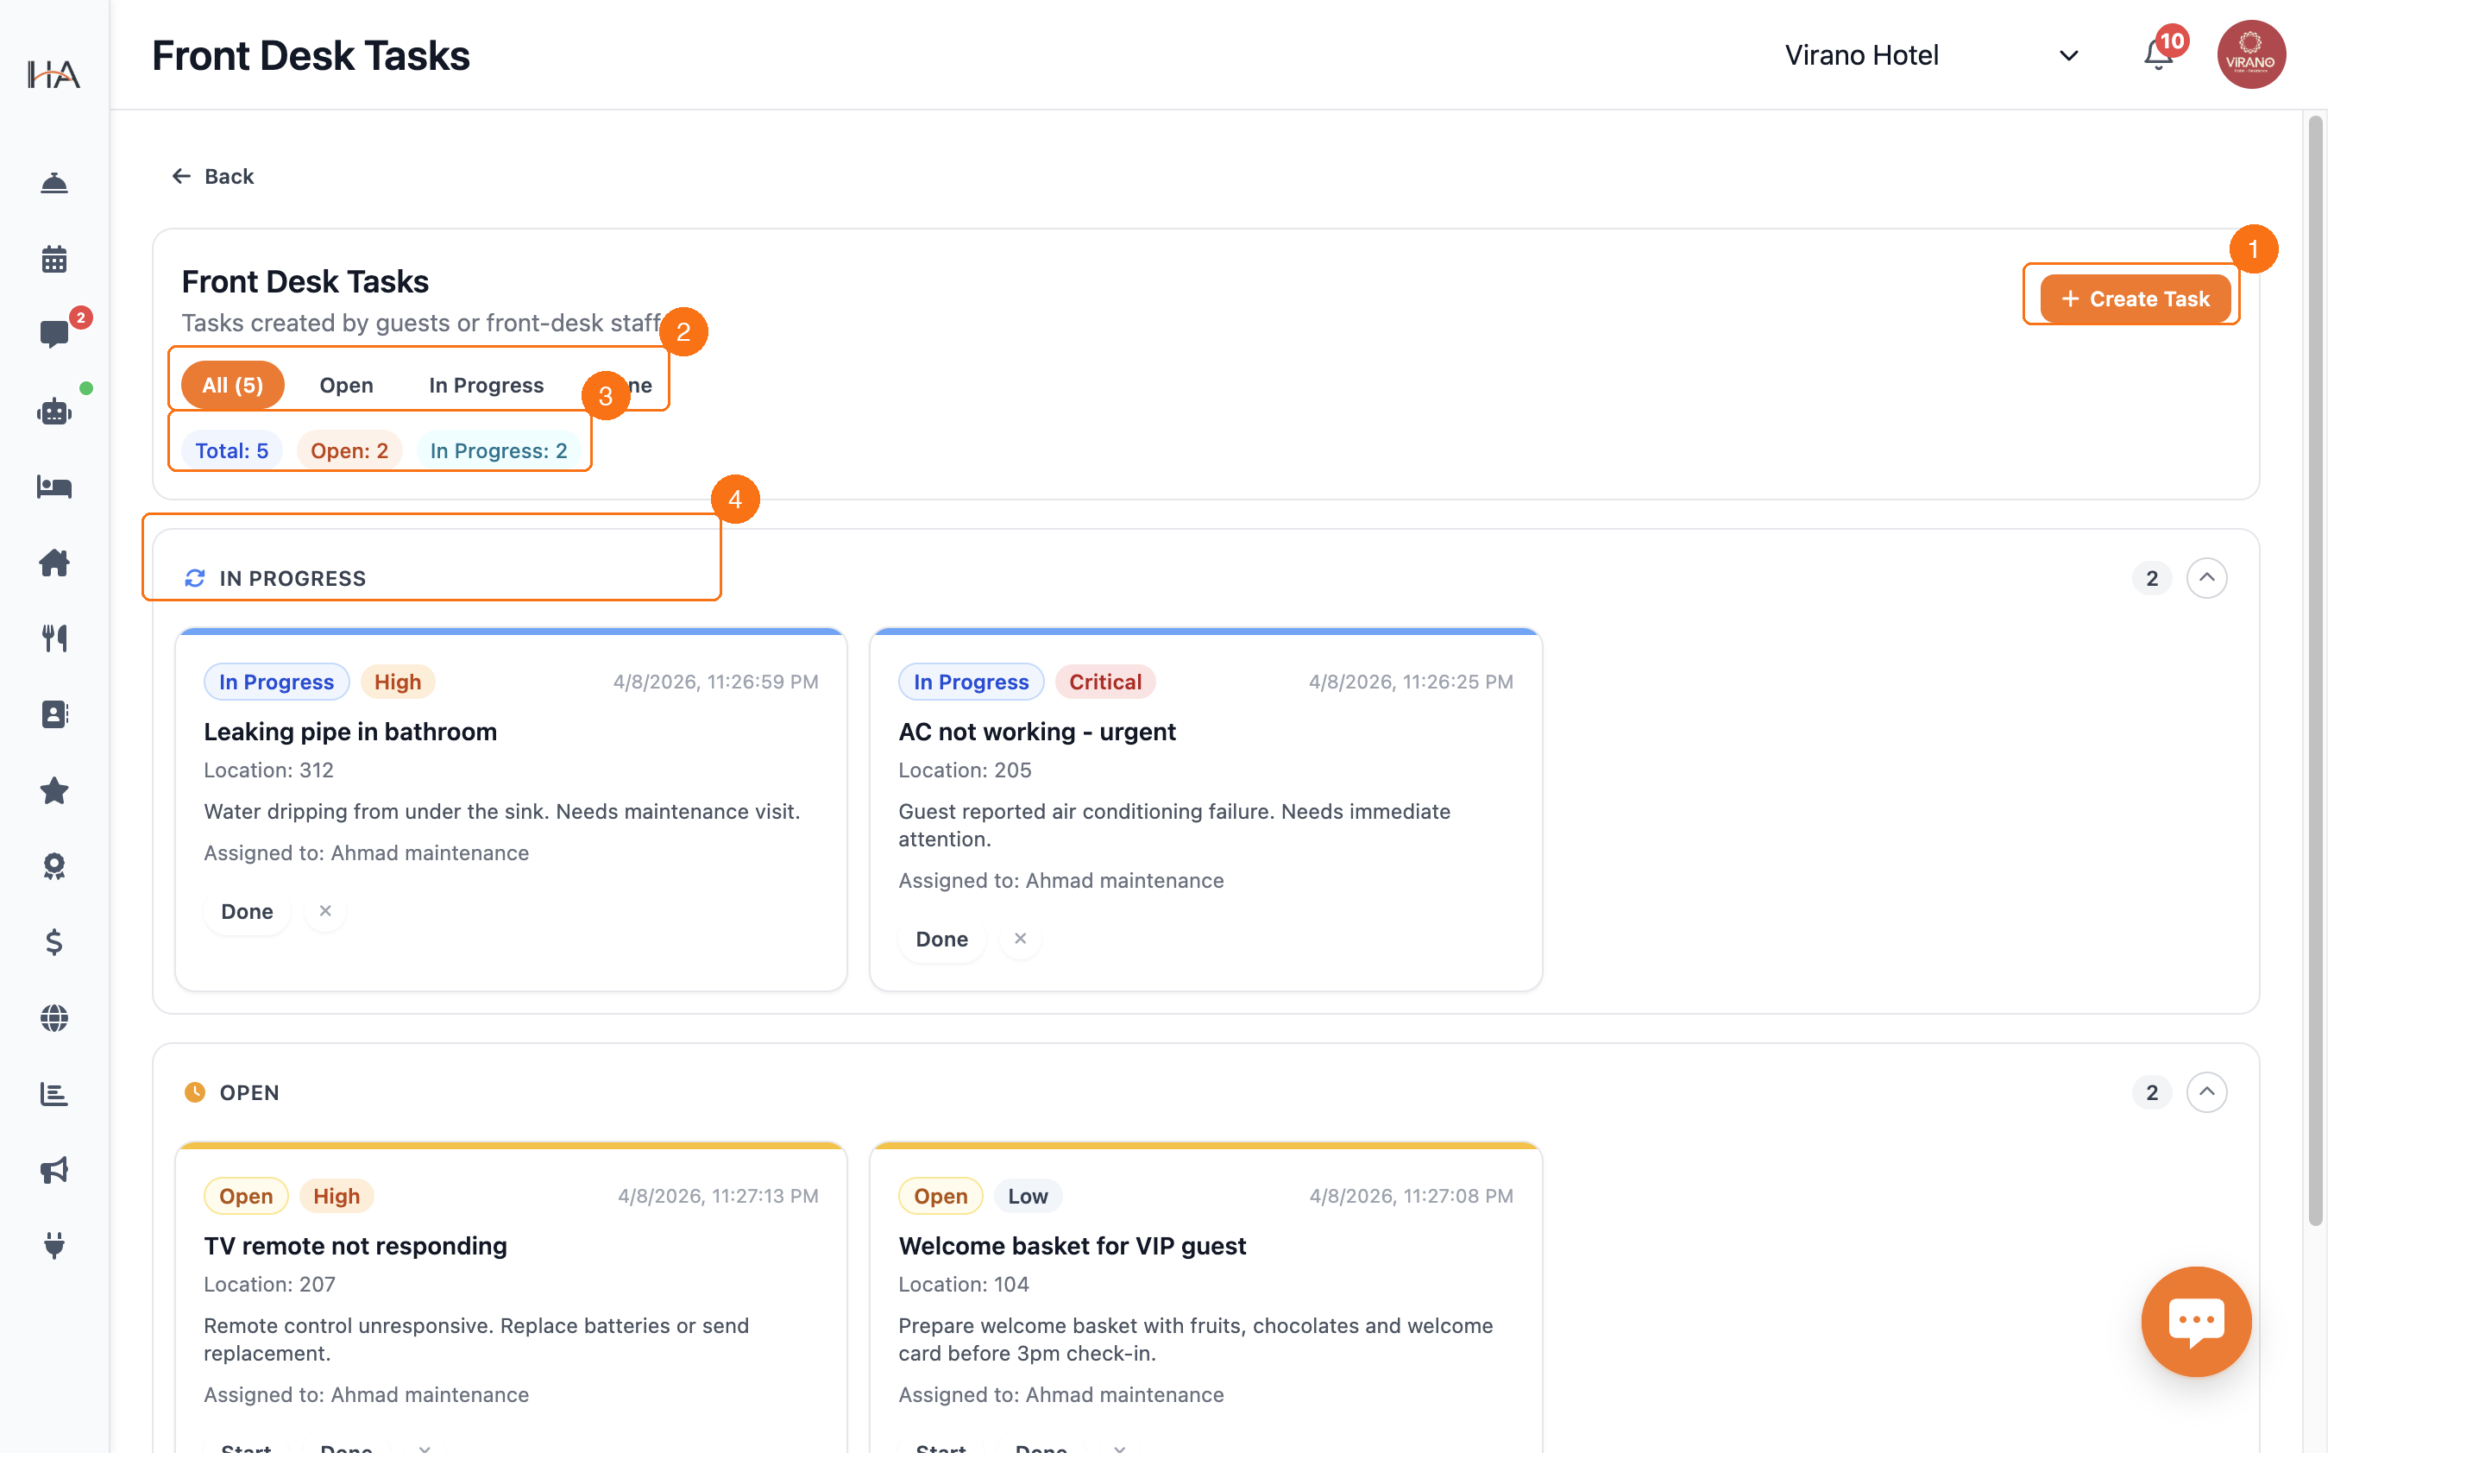
Tasks move through three main statuses that reflect where they are in the workflow: 1. OPEN (Amber left border) A task is Open when it's been created but no one has started working on it yet. From this state you can: - Assign it to a team member - Click 'Start' to move it to In Progress - Click 'Done' to skip directly to completion (for quick tasks) - Cancel it if no longer needed (× button) 2. IN PROGRESS (Blue left border) A task is In Progress when a team member has started working on it. The card shows: - Blue border and 'In Progress' status badge - The assigned team member's name - Time since assignment From this state you can: - Click 'Done' to mark completion - Cancel if needed 3. DONE (Green border, collapsed by default) A task is Done when the work is complete. Done tasks: - Move to a collapsed 'Done' section at the bottom - Are still accessible but out of the main workflow view - Show the completion timestamp - Provide a record for shift reports and audits 4. CANCELLED (Grey, collapsed by default) If a task is no longer needed, it can be cancelled using the × button. Cancelled tasks: - Are removed from the active workflow - Still appear in history for accountability - Show the cancellation timestamp USING THE STATUS FILTERS: The filter bar above the task list lets you quickly jump to tasks by status: - 'All (N)' — shows all tasks with total count - 'Open' — tasks waiting to be started - 'In Progress' — tasks being worked on now - 'Done' — completed tasks for review
Reading the Stats Row
Below the filter tabs, a STATS ROW shows a real-time summary of your task workload: • TOTAL: N — The total number of tasks across all statuses (except cancelled) • OPEN: N (amber text) — Number of tasks waiting to be assigned or started • IN PROGRESS: N (blue text) — Number of tasks currently being worked on This summary lets managers quickly assess workload: - If OPEN is high → tasks need to be assigned - If IN PROGRESS is high → team is busy, monitor for bottlenecks - If TOTAL is growing → may need to add staff or reprioritize The stats update in real-time as task statuses change, so you always see the current picture without refreshing.
Setting and Changing Priority
Assigning the right priority level ensures your team knows what to handle first: WHEN CREATING A TASK: 1. Open the '+ Create Task' dialog 2. The Priority dropdown defaults to 'Normal' 3. Change it to Critical, High, or Low based on urgency 4. Submit the task — the priority level is shown as a colored badge on the task card WHEN EDITING AN EXISTING TASK: 1. Click on the task card to open the side panel 2. Find the Priority field in the details 3. Change the priority using the dropdown 4. Save your changes BEST PRACTICES: - Be honest with priorities — overusing 'Critical' reduces its meaning - Default to 'Normal' for standard guest requests - Reserve 'Critical' for issues that impact guest safety or cause immediate disruption - 'High' is appropriate when a guest is waiting and inconvenienced but not in danger - 'Low' works well for advance preparation tasks or nice-to-haves - Review priorities during shift handover to make sure the incoming team focuses on what matters - Sort tasks by priority (Critical first) when multiple tasks are open simultaneously
More in Front Desk
Understanding Front Desk Tasks
Learn about the Front Desk task management system, how it helps organize daily operations, and how it integrates with your staff.
Creating and Managing Front Desk Tasks
Learn how to create new tasks, assign them to team members, and progress them through completion.
Managing Front Desk Shifts
Learn how to start, monitor, and close shifts at the front desk, including cash reconciliation and handover notes.
Task Details and Booking Integration
Explore the task creation form in depth, and learn how tasks can be linked to guest bookings and room service requests for full context.